Connectors
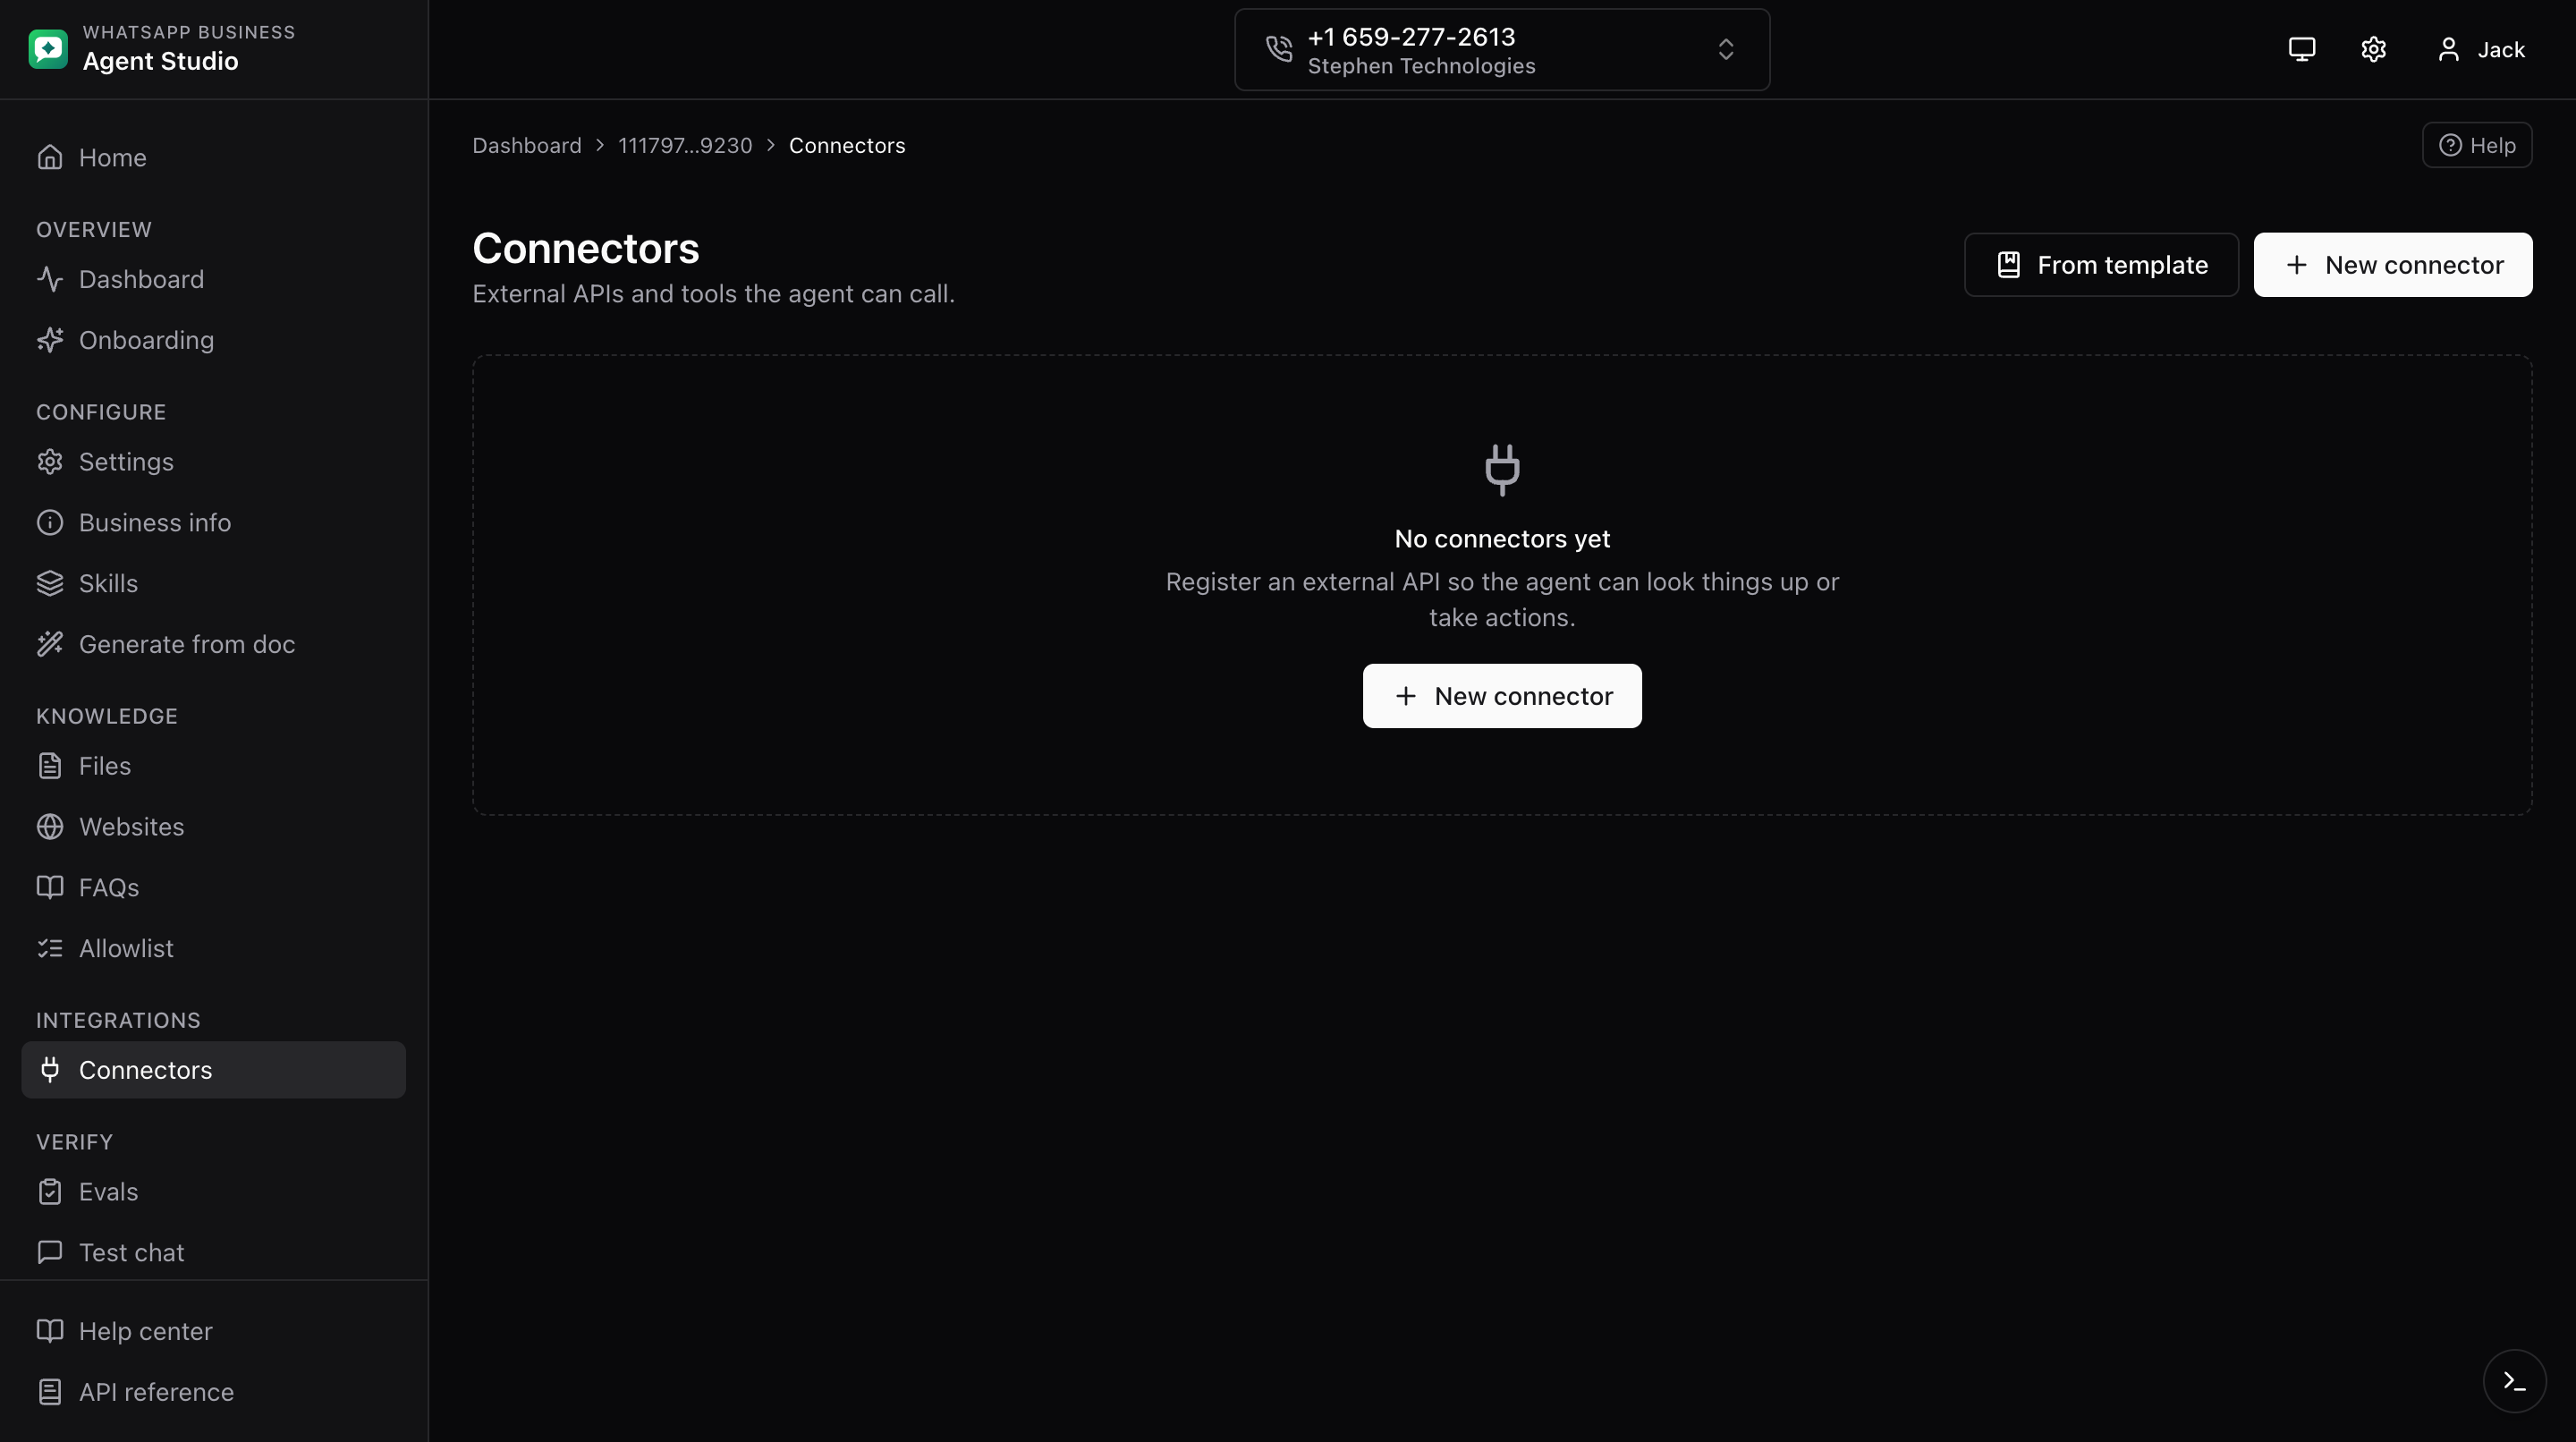
Connectors are external APIs the agent can call. Each connector defines a base URL and one auth method, and hosts one or more tools that describe individual operations.
What you'll do
- Understand the three connector auth types.
- Create a connector from a template, from an OpenAPI spec, or manually.
- Move on to defining tools, rotating credentials, and reading the health card.
Auth types
A connector uses exactly one of these auth methods:
- API key, one or more headers, each with a name and value (for example
Authorization: Bearer <key>). - OAuth2 client credentials, a client ID, client secret, token URL, and scopes.
- mTLS, a PEM-encoded certificate and private key.
You pick the auth type when you create the connector. Switching auth types on an existing connector preserves the fields you already filled in for the previous type, so you can flip back without losing data.
Step-by-step
Create from a template
The template library ships 14 prefilled connector shells for common SaaS APIs, grouped by category:
- E-commerce: Shopify, WooCommerce
- Payments: Stripe
- Support: Zendesk, Freshdesk, Intercom
- CRM: HubSpot, Salesforce
- Communication: Twilio, Slack
- Marketing: SendGrid, Mailchimp
- Productivity: Calendly, Notion
Each template comes with the right auth_type, base URL, and (for OAuth templates) token URL and default scopes. You only need to fill in your own credentials.
- On the Connectors list page, click From template in the header.
- Pick a template. You land on the New connector page with the fields prefilled.
- Follow the linked docs on the template card to mint credentials for the target API (usually an API key or an OAuth client).
- Paste the credentials into the auth fields and click Save.
Create from an OpenAPI spec
If you already have an OpenAPI 3.x spec for your API, you can create the whole connector plus one tool per operation in one step. This is the fastest path when the vendor publishes a spec and there is no template for it.
- On the Connectors list page, click Import OpenAPI in the header.
- Paste the spec into the text area (500 KB cap) or upload a
.yaml,.yml, or.jsonfile (2 MB cap). - Review the auto-generated connector card, pick a server if the spec defines several, pick an auth scheme if it defines several, uncheck any tools you do not want, then click Create.
- Credentials stay empty. Open Rotate credentials on the new connector and fill them in.
See Import connector from OpenAPI spec for the full walkthrough, including how each OpenAPI security scheme maps to a studio auth type.
Create a connector manually
- Open Connectors from the sidebar.
- Click New connector in the top-right.
- Fill in the base URL and description.
- Choose an Auth type. The form below switches to the fields for that auth type.
- Fill in the auth fields.
- Click Save.
Edit or delete
- Click a connector card. You land on the connector detail page.
- Edit fields and Save.
- Click Delete to remove the connector. Its tools go with it.
What lives on the detail page
- Auth rotation page (link at the top). See Connector auth rotation.
- Health card with 24-hour stats. See Connector health.
- Tools list. See Tools.
Troubleshooting
- Toggling auth types loses my fields, refresh the page and try again. If the problem persists, note which auth types you flipped between and report the issue.
- A template did not prefill, the template link may be stale. Refresh the page.
- Save is rejected with a schema error, all fields required by the chosen auth type must be filled in. Missing a client secret on OAuth, for example, will block the save.